
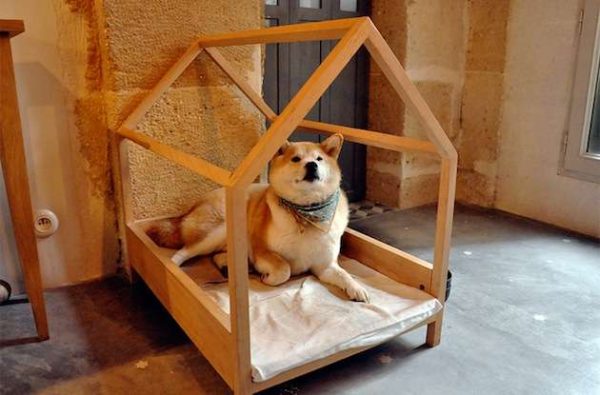
Making a toy dog house is not difficult. You can do it if you have enough time and patience.
In the first part of this article, we will show you how to make a wooden toy dog house with your own hands from cardboard or paper mache.
You will also get some tips for painting your toy dog house so that it looks like an actual one!
What you need
You will need:
- Cardboard (the size of the finished toy dog house)
- Scissors
- Glue
Cut a piece of cardboard to make the main floor of the dog house
- Cut a piece of cardboard to make the main floor of the dog house.
- For square or rectangular houses, simply cut out a piece of cardboard that is slightly larger than the dimensions you want to create. For example, if you want your house to be 10 inches wide and 12 inches long, cut out a 12 x 14 inch piece of cardboard.
- If you are making an opening for your dog’s door in your toy dog house and wish for some type of decorative edge around it (such as trim), then measure and cut this first before cutting out the floor shape itself!
Cut three pieces of cardboard to make the sides of the dog house. Cut one piece to be about 2 inches longer than your floor piece, and cut two more pieces that are each 1/2 inch longer than your front piece.
Cut all three pieces of cardboard to be flat on all sides, making sure they’re not crooked or slanted in any way.
Cut a hole in the floor of the dog house
To cut a hole in the floor of the dog house, use a circular saw or jigsaw to cut a square hole around 6 inches by 6 inches. The size of this hole depends on the size of your dog. You want it to be large enough for them to get in and out easily, but not so large that it is a hazard for them (if they could fall through).
Glue the walls onto the floor so the dog house starts to take shape
Glue the walls onto the floor so the dog house starts to take shape. Make sure they are straight and don’t glue down any of the supports or roof yet.
Cut four pieces of cardboard to make roof supports for your dog house.
Cut two pieces of cardboard in half, then cut two more into triangles. These will be glued on top of the roof supports and support the roof of your dog house.
Glue roof pieces on top of roof supports.
- Lay the roof pieces on top of and over the supports so that they are touching, with no space in between.
- Use a straightedge to measure each side of each roof piece; make sure that it’s level with your lines.
- Use a pencil to mark where you want to put glue on each side of each roof piece, then use an Elmer’s Glue-All brush (or similar product) and apply glue evenly across those lines .
- Press down firmly on both sides of the roof until all edges are secure.
Making a toy dog house from cardboard
A toy dog house is a great way to help your child learn how to use tools, improve his or her fine motor skills and have fun!
Using cardboard is inexpensive and easy. It’s easy to cut, glue, paint and decorate. If you do it yourself with the help of your child you can also save money by not buying anything for them but imagination!
If you make a mistake when cutting out the pieces for example, there’s no need to throw everything away – just use it for another project later on! Cardboard can be glued back together so easily that even little children can fix mistakes without your help.
Conclusion
Making a toy dog house from cardboard is fun, simple and inexpensive! You can make a variety of shapes for your pet by varying the size of the opening or adding windows. The best part is that you can keep this house forever because it’s made from recycled materials.