Building an indoor dog house might seem like a daunting task at first, but we’re here to show you that it’s really not that hard. If you’re looking for a way to control the temperature and humidity in your home or if you have a dog who doesn’t do well with cold temperatures, then this article is for you! We’ll walk you through the process from start to finish with all the tips and tricks needed to get the job done.
What is an Indoor Dog House?
An indoor dog house is a great way to keep your furry friend warm and dry during the winter months. This type of dog house is also a good choice for small dogs who live in apartments or other homes without much outdoor space. If you’re thinking about building an indoor dog house, here are a few things to keep in mind.
First, you’ll need to choose the right location for your indoor dog house. It should be placed in a spot that’s out of the way of foot traffic but still within view so you can keep an eye on your pup. You’ll also want to make sure the area is well-ventilated and free from any potential hazards.
Next, you’ll need to gather the supplies you’ll need to build your indoor dog house. This includes lumber, plywood, screws, nails, and wire mesh. If you’re not particularly handy, you may want to hire a professional carpenter to help you with this project.
Once you have all of your materials, it’s time to start building! Begin by cutting the lumber and plywood according to the dimensions in your plans. Assemble the frame of the dog house using screws or nails, then attach the wire mesh to the sides and roof.
Finally, add any extra features you want, such as a door or window. Once everything is in place, give your indoor dog house a good coat of paint or sealant to protect it from the elements.
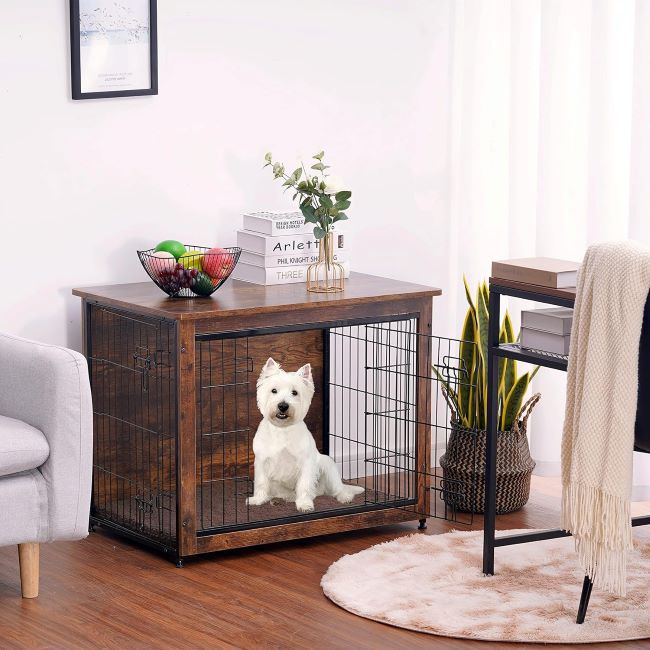
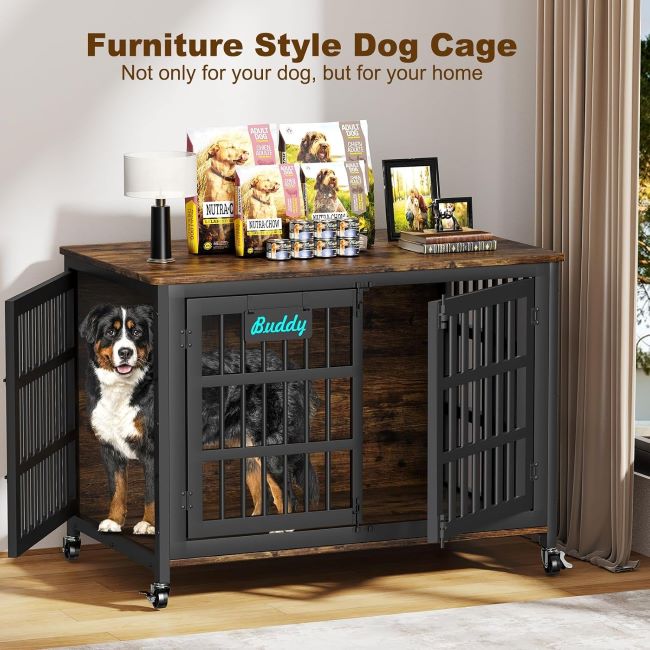
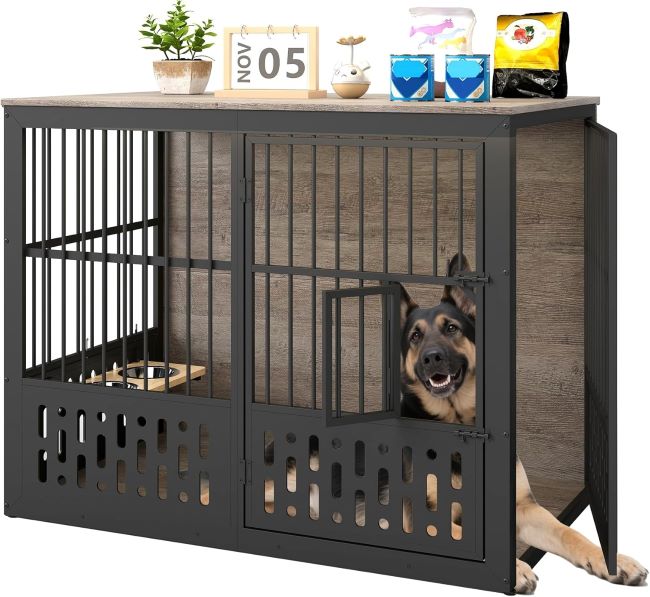
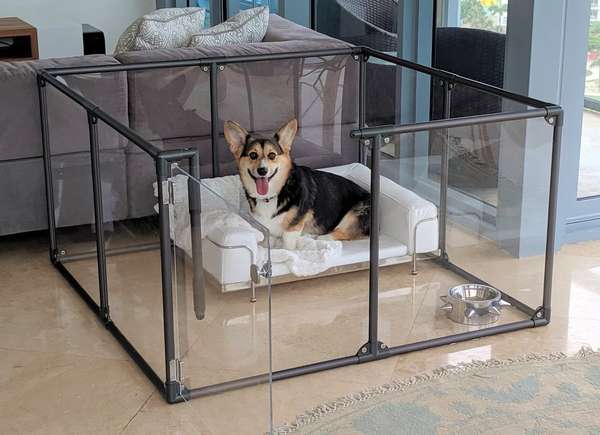
Indoor dog houses for large dogs
| Image | Product | Details | Price |
|---|---|---|---|
 |
Furhaven Pop Up Playpen Pet Tent Playground | Color: Gray Note: Extra Large |
Check Price |
 |
Dog Tent Bed | Teepee Tents with Soft Cushion and small Chalkboard, Removable Dog House, Cat Sleeping Tent for Pets Under 15 |
Check Price |
 |
Sherpa Portable Soft-Sided Indoor Pet House | Color: Gray Note: One Size |
Check Price |
Why Build An Indoor Dog House?
Building an indoor dog house may seem like a pointless endeavor, but there are actually quite a few reasons why you might want to consider doing so. For starters, an indoor dog house can provide your furry friend with a cozy and comfortable place to sleep that is away from the elements. Additionally, an indoor dog house can help to keep your home clean by containing your pet’s messes in one area. And lastly, an indoor dog house can be a great way to show off your carpentry skills!
If you’re convinced that building an indoor dog house is the right move for you and your pup, then read on for our step-by-step guide.
Materials Needed
-1/2″ plywood
-1×2 lumber
-Construction adhesive
-Cordless drill
-3/16″ drill bit
-1 1/4″ hole saw
-Paint or stain
-Wood screws
-Latch
-Handle
Step 1: Find a Flat Piece of Land
The first step to building an indoor dog house is finding a flat piece of land. This can be in your backyard, on your porch, or in your garage. Once you have found a flat piece of land, you will need to measure it. You will need enough space for the dog house, plus two feet around the perimeter.
After you have measured the area, you will need to mark off the space with string or stakes. This will help you keep track of where the dog house will go.
Now that you have found a flat piece of land and marked off the space, you are ready to move on to the next step: building the base of the dog house.
Step 2: Draw Out the Frame
Now that you have all of your materials, it’s time to start building! The first step is to draw out the frame of the dog house. You can do this freehand or use a ruler to make straight lines.
Once you have the frame drawn out, use a saw to cut the pieces to size. Make sure to measure twice and cut once!
Next, take the two side panels and drill holes for the door. Then, attach the side panels to the base with screws.
Now it’s time to add the roof. First, measure and cut the two pieces of plywood that will make up the roof. Drill holes along the edges and attach them to the frame with screws.
Finally, add some trim around the door and paint or stain the dog house. Let it dry completely before letting your pup move in!
Step 3: Cut and Connect Pieces of Wood Together
After you have all of your pieces of wood cut to size, it’s time to start connecting them together. You will need to use nails or screws to do this.
Start by attaching the two side panels to the front panel. Then, attach the back panel to the side panels.
Next, attach the roof panels to the front and back panels. Make sure that the roof panels overlap at the seams so that they will be waterproof.
Finally, attach the floor panel to the bottom of the side and back panels. Your indoor dog house is now complete!
Step 4: Add the Roofing Material
Adding the roof to your indoor dog house is a fairly simple process. Start by measuring the length and width of the roof. Cut two pieces of plywood to these dimensions.
Next, cut four pieces of 2×4 lumber to the same length as the plywood. These will be used to support the roof.
Now, lay the two pieces of plywood on top of the 2x4s, making sure that they are flush with the edges. Nail or screw the plywood to the 2x4s, using eight nails or screws per sheet of plywood.
Once the plywood is in place, cover it with tar paper or another type of roofing material. Make sure that the material extends over the edges of the plywood by about two inches.
Finally, add your chosen roofing shingles. Begin at the bottom edge of the roof and work your way up. Be sure to overlap each row of shingles by about two inches.
Step 5: Place Doors and Windows
In this step, you’ll be adding doors and windows to your indoor dog house. First, measure the opening for the door and cut a piece of plywood to size. Then, attach the door to the frame of the dog house using hinges.
Next, measure the opening for the window and cut a piece of Plexiglas to size. Attach the Plexiglas to the frame of the dog house using screws.
Finally, add a door handle or knob to the door so your dog can go in and out as needed.
Conclusion
With this guide, you now have all the information you need to build your own indoor dog house. This project is not as daunting as it may seem at first, and with a little time and effort, you’ll have a beautiful and functional dog house that will be the envy of all your friends. So what are you waiting for? Get started today and see how easy it is to build your own indoor dog house.