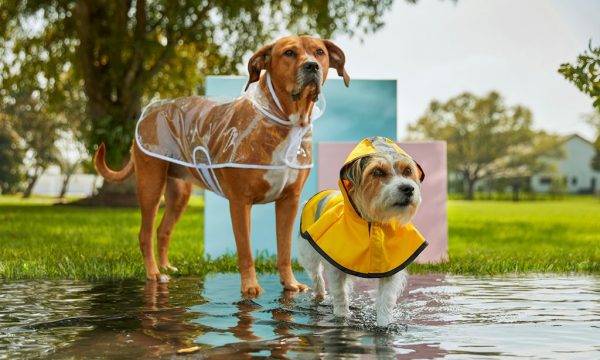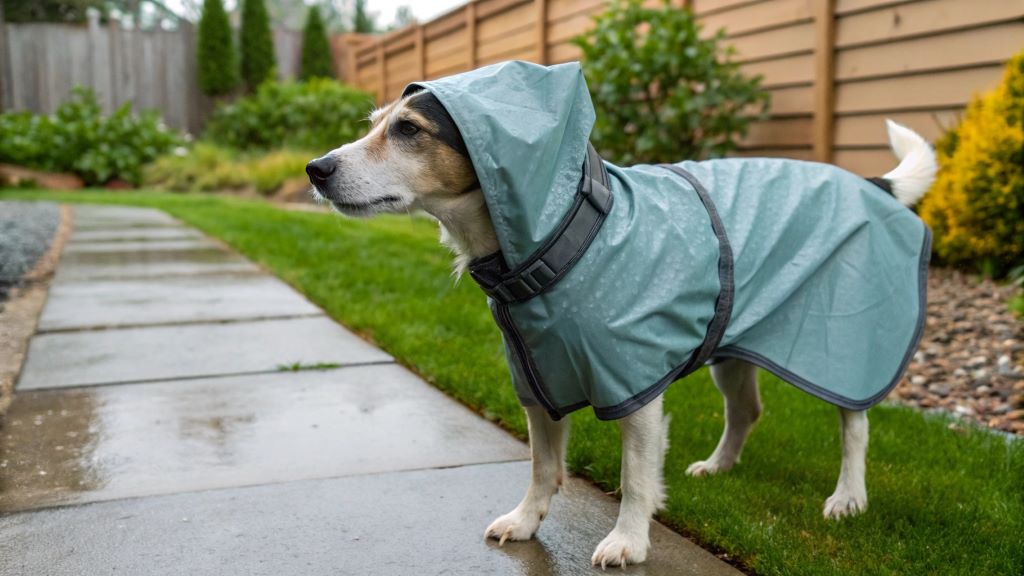
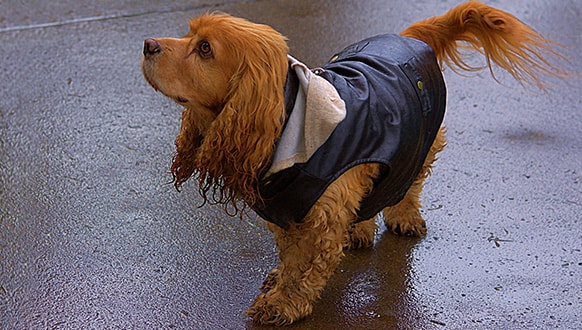
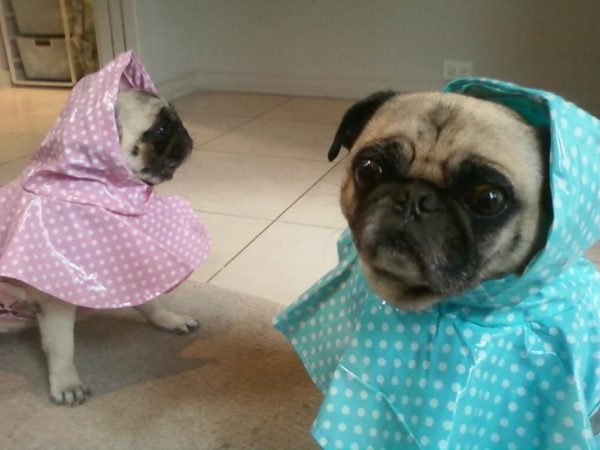
If you spend a lot of time outdoors with your dog, then you know how important it is to have a raincoat when the weather gets bad. Most raincoats are made from expensive fabrics like Gore-Tex, but did you know that you can make one out of plastic bags? It’s true—it’s not only cheap and easy but also super cute!
In fact, making a homemade dog raincoat out of plastic bags is about as simple as could be: all you need are a few pieces of plastic and some scissors or fabric shears! Once your creation is done, all that remains is putting it on your pup and taking them outside—and they’ll be ready for whatever mother nature (or their owner) throws their way. So grab some old grocery sacks before leaving the house next time it rains; with these instructions in hand, there will never be another rainy day without this DIY project again!
How to make a dog raincoat out of plastic bags?

You can make a raincoat for your dog out of plastic bags. Plastic bags are cheap and easy to use, they are recyclable and you can choose the color of the plastic bag.
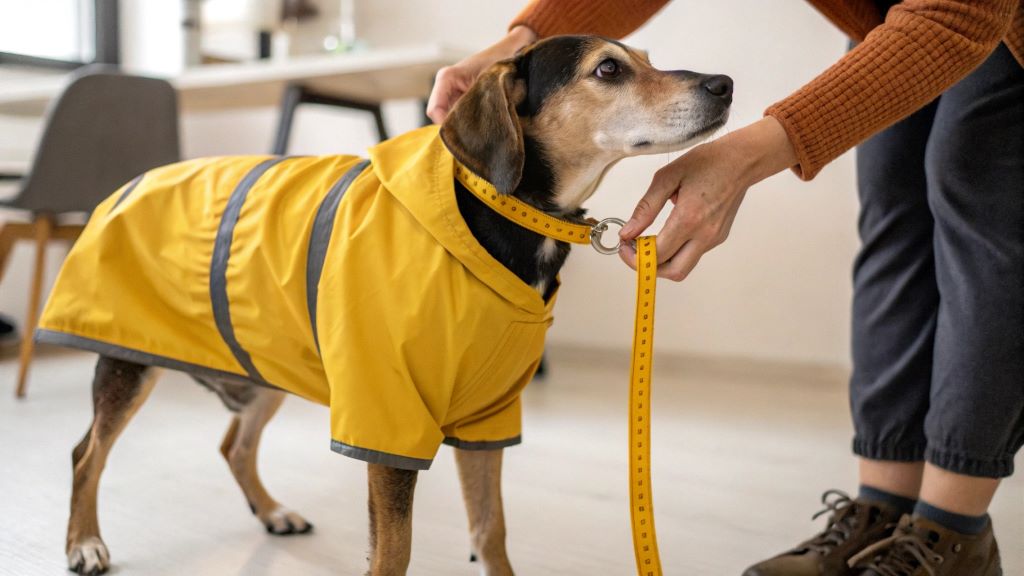
You can choose the size of the plastic bag. You should use a large size but small enough so that it will fit on your dog’s body. Here are the steps to making a dog raincoat out of plastic bags:
Gather plastic bags
To make a raincoat out of plastic bags, you’ll need to gather a variety of different sizes and colors. The amount of bags you need will depend on the size of your dog. If you have a small dog, you can get by with less than if you have a large dog. You can also use both grocery store bags and shopping bag from department stores or grocery stores.
Fold a plastic bag in half
You’ll want to fold your bag in half, with the opening facing out. You can use a drinking straw to help you with this. Try not to rip any of the bags as you’re folding them.
Once your plastic bag is folded in half, use a ruler (or something else that’s straight) to cut along one side of the center fold. You’ll need two pieces for each raincoat—one for each side of your dog!
Cut off the corners of the bag
Cut off the corners of the bag. Cut off the corner of the plastic bag, making sure to keep at least one inch of space. Then, cut it into strips. You can use scissors or a knife to cut your plastic bag; either way will work just fine! If you’re using a ruler, make sure that you measure from top to bottom instead of left to right (or vice versa).
Cut up the bag into strips
The next step is to cut the plastic bag into strips. You can use a sharp knife for this or even scissors if you’re feeling adventurous. The smaller you cut the pieces, the more they will hold together. Just remember not to make them too small or else they won’t be able to hold water anymore!
Braided the plastic bag strips together
Once you have the strips, it’s time to braid them together. To do this, hold one end of a strip in your left hand and wrap it around your right pointer finger. Then, hold the other end of that same strip with your right pointer finger and wrap it around your left thumb. Continue alternating hands as you go down each side until you have enough plastic bag strips braided together for your collar or cuff. Repeat this process with another strip until all of the strips are braided together into one long piece of plastic fabric material (for those keeping count at home, this is where Step 3 ends).
You now have a choice: You can either cut off any extra length or leave yourself plenty of room on either side when you start sewing so that when sewn onto your dog’s coat, there won’t be any raw edges visible when not wrapped around their neck or leg/wrist area (we recommend doing both).
Sew the ends of the braids together to create a circular shape
To sew the ends together, use a needle and thread. Start by sewing one end of each braid to the opposite end of another braid. (The loop will be on top.) Pull it tight but not too tight so that you can fill it with stuffing.
After you’ve sewn them together, use a zigzag stitch over both sides of each braid to make sure that they stay together.
Now that you have your raincoat, it’s time to put it on your dog!
Make sure that the coat is tight enough for them to walk comfortably. They should be able to move their legs freely and breathe normally. If you can see any part of their belly or chest, tighten the coat around them until only their head sticks out (this will keep the rain from getting in). If the coat is too tight, they may get hurt or be unable to breathe well enough to stay warm and dry. Make sure that there are no loose straps or strings hanging down from anywhere on either side of their body; they could catch on something while walking around outside and cause injury as well as make them look silly when they’re trying not to get wet 🙂 Also make sure there aren’t any holes in the plastic so water can leak through into whatever material makes up your dog’s fur.
And now you know how to make a dog raincoat out of plastic bags!